Hosting ASP.NET Core on Heroku (with Docker&CircleCI) for free
The problem
You have an application that you need to show off to your friends or a client, and they all need to access it online, and you don’t want to use your old server in your basement. If it’s a small application, you can easily do all this for FREE!
You got:
- ASP.NET Core running on .NET Core
- EF Core or something else
- PostgreSQL, SQLite or something else that can run on Linux Docker image
The solution overview
You will use Heroku and free PostgreSQL add-on on Heroku to host and run our ASP.NET Core application. You will have Docker pack the web application inside of the container, and then use CircleCI to deploy the Docker container to Heroku Container Registry.
The complete code on GitHub:
https://github.com/Ibro/AspNetCoreHerokuDocker
Steps
Let’s start from the first step, by creating the ASP.NET Core application and adding Docker to it.
1. Create ASP.NET Core application
Create a new folder for your project. I will name it AspNetCoreHerokuDocker. Inside of the folder spin up your favorite command line run the following command:
`dotnet new webapi`
Executing command above will create a new ASP.NET Core Web API project. It only has basic Values controller, but it’s enough for our needs.
2. Dockerize ASP.NET Core application
To dockerize your application, you need to create new Dockerfile in your project folder.
We can follow the official guide here, written by Docker team. However, we should specify the exact SDK and runtime versions we want to use otherwise Docker will probably pull some 3.0 preview. Another thing we need to update is the last line.
Because Heroku doesn’t work nicely with ENTRYPOINT command we should change this:
ENTRYPOINT ["dotnet", "aspnetapp.dll"]
to this:
CMD dotnet aspnetapp.dll
Here is how my complete Dockerfile looks like:
3. Create your Heroku application
Log in to Heroku or create a new (it’s completely free) account if you don’t have one. After that, create a new app, choose the name for your application and select the desired region. Save the name for later, we will use it with CircleCI.
4. Set up CircleCI
Create a folder .circleci in the root folder of your repository. Create a new file named config.yml inside that folder.
You will be using this configuration:
Now it’s time to set up the project on CircleCI. Log in to CircleCI with your GitHub account and set up a new project.

Choose your project from the list and click on Set Up Project button. On the next screen choose Linux as an operating system and click on Start building button.
After that is done, you will need to set up environment variables for your CircleCI project.
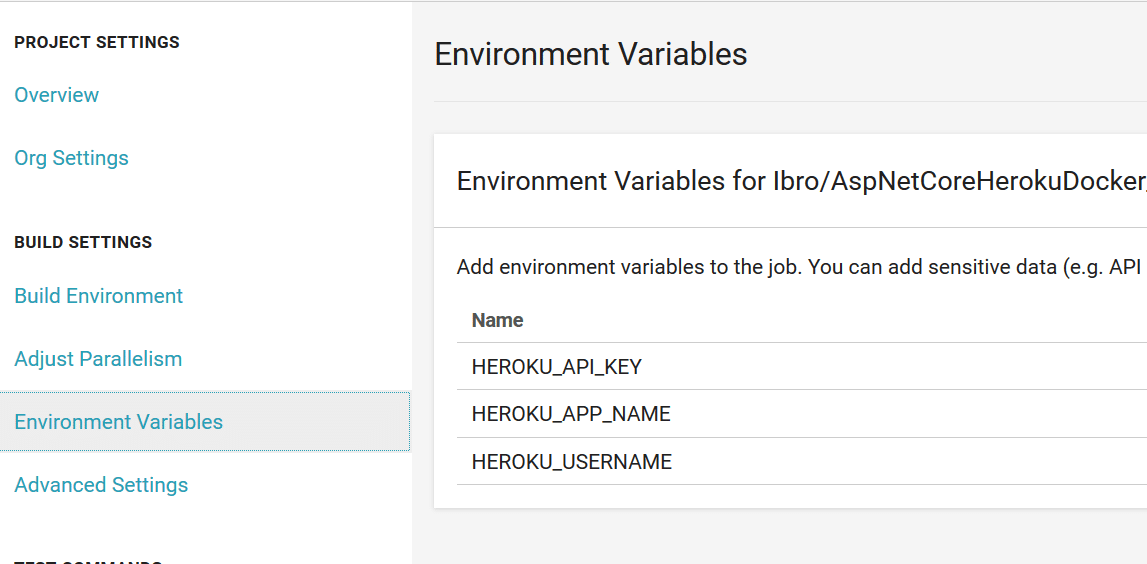
You can find your Heroku API key in your Heroku Account settings, your username should be your email that you use to sign in and HEROKU_APP_NAME will be the name that you used when you were creating new Heroku application.